Guides and tutorials · Guides and tutorials
Setting up Google Analytics 4: a clear guide
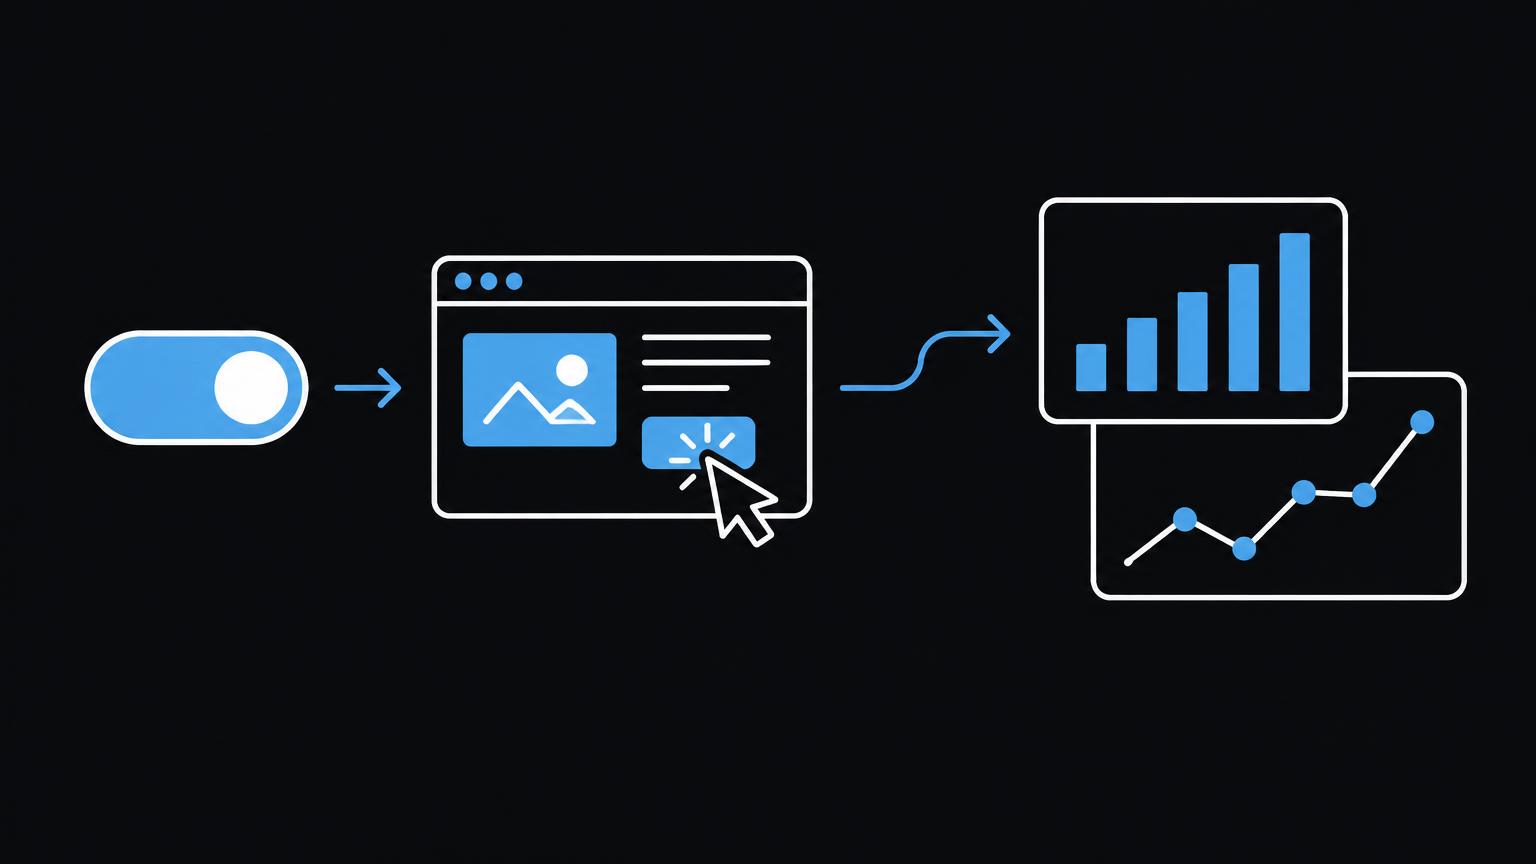
You can set up Google Analytics 4 effectively when its purpose, responsibilities and expected outcomes are clear beforehand. This guide explains the key steps in straightforward terms.
The local demo uses only neutral sample data. It makes no real connection and sends nothing to Google. Always check the specific configuration and applicable requirements for your situation.
Purpose and basics
Google Analytics 4 is a tool for website managers, but it cannot replace a clear question. Start by deciding which decisions your analysis should support and who will use the results. Reports provide indications, not a complete explanation of individual people’s behaviour. Data may be incomplete or delayed; technical settings, consent and usage affect what becomes visible. First establish whether a suitable configuration already exists. Several disconnected accounts or properties make comparison and handover harder. Appoint a responsible person within your organisation and grant access to individual accounts with the permissions each person needs. Do not share passwords, and review access when roles change. Keep clear records of responsibilities and changes.
Accounts, properties and data streams have different purposes. The account provides the organisational framework and holds permissions. A property manages data and reports for the defined measurement scope. The data stream describes the website or app supplying data. Choose names that help team members recognise the purpose, for example through the brand and environment. Avoid multiple properties for the same purpose unless there is a clear reason. Before creating a new one, check whether a previous agency or internal team has already set up a suitable property.
A website data stream contains a Measurement ID identifying the connection to the chosen property. Take this identifier only from the current Google interface and assign it to the correct website. It does not replace checking the integration: a visible identifier alone does not prove that events arrive correctly or are recorded only once. Record the associated website and environment so testing and production use are not confused.
Structure and setup
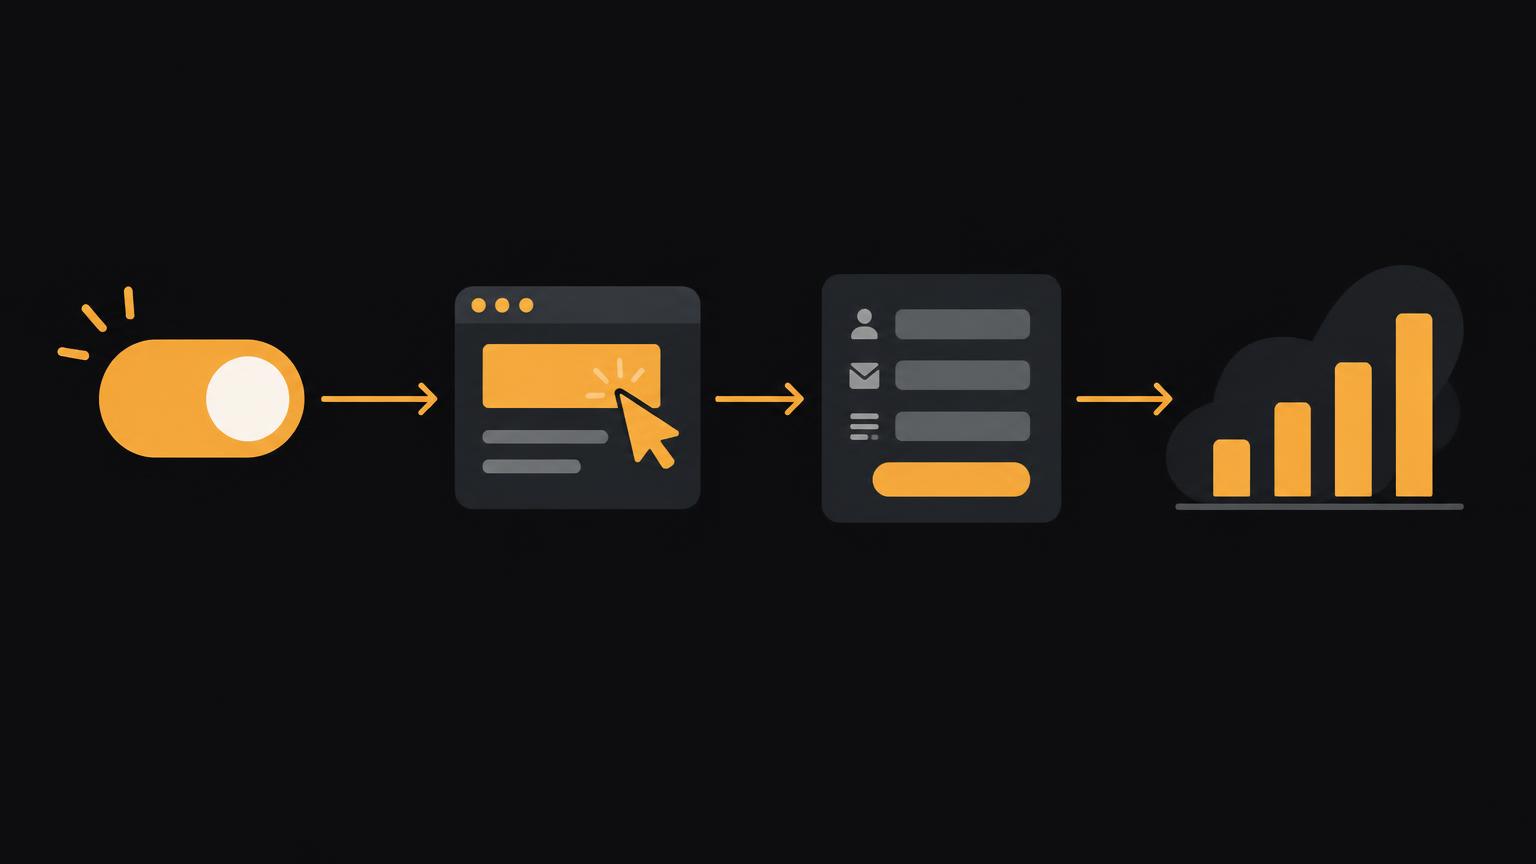
Plan setup as a sequence of tests and checks. Configure only the required components and take values from the current official interface, not old notes. After each step, check that the expected connection actually exists. For existing installations, first examine the website, extensions and central administration; adding another integration may record the same information more than once. Choose an integration method suited to your website platform and existing support arrangements. A direct integration may be enough for a simple environment. A tag manager centralises tags but also needs clear responsibilities, consistent naming, testing and approval. Document where the configuration is stored. Do not change or remove existing tags until their dependencies are understood.
Set up in controlled steps
- Clarify the goal and responsibilities
Record the measurement purpose, check existing access and decide who approves changes.
- Test the integration
Implement the configuration to suit your website, then check the expected processes individually.
Before technical implementation, decide whether your website offers a native integration or whether to use a tag manager. Check whether a tag manager container is already installed and who manages it. Avoid installing the same tag in parallel through the platform, an extension and manually added code. Duplicate installation can trigger page views more than once and distort reports. Document your chosen method, the responsible person and the configuration location without putting login details in generally accessible notes.
Plan page views and events around the website’s actual tasks. A page view describes a visit to a page. A CTA click indicates a chosen action but not necessarily a successful enquiry. For a form, success measurement should use confirmed submission or a reliable confirmation view, not simply entering information or clicking Send. For a purchase, a confirmed completion is what matters. Agree event names and triggering conditions before comparing them in reports.
Measurement and interpretation
Start with a small number of events that have a specific meaning. A page view describes a different action from a button click or confirmed completion. For enquiries, do not count only the submission attempt: a form can fail or be abandoned. For purchases, establish when completion is actually confirmed and how to avoid double counting. Name events clearly and consistently. Collect only necessary information; form field contents, names and email addresses do not belong in measurement parameters without a justified need. Compare periods only under similar collection conditions and interpret metrics in context. A decline can have various causes and does not, by itself, justify a particular change.
| Event | Possible meaning | Check consent | Checking method |
|---|---|---|---|
| Page view | Content accessed | Before sending data | DebugView |
| CTA click | Contact method chosen | Check measurement purpose | Test the click once |
| Form success | Confirmation reached | Check before sending | Test success separately |
| Purchase completion | Order confirmed | Check configuration | Test process without customer data |
Internal traffic can affect results, for example when employees check the website frequently. Establish which options the current Analytics configuration offers for internal traffic and its identification. Test its treatment using suitable internal checks and document which traffic is included or excluded. Do not rely on a single test view as proof that all internal traffic has been removed. External service providers and test environments should also be considered as possible causes of unusual figures.
Consent and data management
Tracking must only take place with consent. Check which tags become active before and after a choice and whether later withdrawal is accounted for technically. Consent Mode sends consent signals to Google tags but replaces neither a consent process nor an individual assessment of requirements. A technical configuration does not automatically confirm data protection compliance. Limit collection to the agreed purpose. Regularly review parameters, access, retention and internal testing activity. Retention periods and data protection need individual assessment; involve the appropriate specialists where necessary. Do not use internal test data as genuine business results, and document how test traffic is treated.
Google describes setup in its official guide, Set up Analytics for a website and/or app. Consent Mode is explained in Google’s documentation, Set up consent mode on websites.
Data minimisation starts with the measurement plan. Collect only information needed for the stated purpose. Do not send names, email addresses, telephone numbers or free-text form contents as event parameters. Also check URLs and page titles: search terms or confidential content in an address could otherwise appear in reports. Use neutral event names and decide who may view the data. Roles should match the task rather than being given broad permissions by default.
Before publication, include tests for both accepting and declining consent. Check whether tags become active only in line with the choice and how a changed choice is handled. Consent Mode describes signals that inform tags of consent status; it is not consent itself and does not automatically make a configuration compliant with data protection requirements. Retention periods, purposes and other data protection questions must be assessed individually for the particular use. Involve the appropriate specialists where necessary rather than treating technical guidance as legal advice.
If you would like to review the setup together, you can request a marketing analysis.
Send a non - binding enquiryLocal demo
This simplified demo illustrates the process using neutral sample data. It runs locally, makes no real connection to the provider and sends no data whatsoever. Use it to discuss terms and checking steps; the real setup must be tested separately.
The demo replaces neither technical checks nor consent verification. When implementing the setup, ensure you use the correct property and permissions, with a documented testing process.
Quality control and next steps
After setup, test the intended processes individually. Check that an event appears exactly once and at the right time. Also test declining and accepting consent, mobile use and error states. A debugging tool or real-time report can help with technical checks but does not prove that all subsequent usage will be captured completely. Repeat the relevant tests after changes to the website, forms, tag manager or consent tool. Record what changed, who checked it and which events are expected. A brief recurring check is more useful than undocumented, spontaneous adjustments. For support, you can request a marketing analysis.
Checklist before use
Practical checklist
Tick items off · local only, not saved
0 of 7 items completed
Summary
- Define the purpose and required reports beforehand.
- Check existing accounts and responsibilities.
- Collect only necessary events and information.
- Assess consent, access and retention individually.
- Test the setup and changes regularly.
Frequently asked questions
What is the difference between an account and a property?
The account provides administration, a property brings analysis together, and a data stream connects a specific website or app. Check existing structures before creating new ones.
Do I need a tag manager?
Not necessarily. A direct integration may be enough; a tag manager can centralise administration. Clear responsibilities and testing matter in both cases.
How do I measure an enquiry meaningfully?
Distinguish the click from confirmed form success. Collect only necessary information and do not send form contents to Analytics.
Is Consent Mode a consent solution?
No. It sends technical consent signals to Google tags but does not replace the consent process or an individual assessment.
Does Analytics record every visitor?
No. Consent, technology and configuration affect the available data. Analytics does not provide a complete visitor identity.
Sources
- Set up Analytics for a website and/or appGoogle · checked on 2026 - 11 - 05
- Set up consent mode on websitesGoogle · checked on 2026 - 11 - 05
Back to the top of the article